TUTORIAL || Mary McDonnell LAPD Banquet Inspired Makeup
Annnnd we're back to the Mary McDonnell Fandom Friday posts. Have you missed those? This post is a spur of the moment one. I hadn't planned a Mary related post for this week but then Mary's makeup artist, Kristina Vogel posted > this < photo to her Twitter account and BAM, this week's post was born!
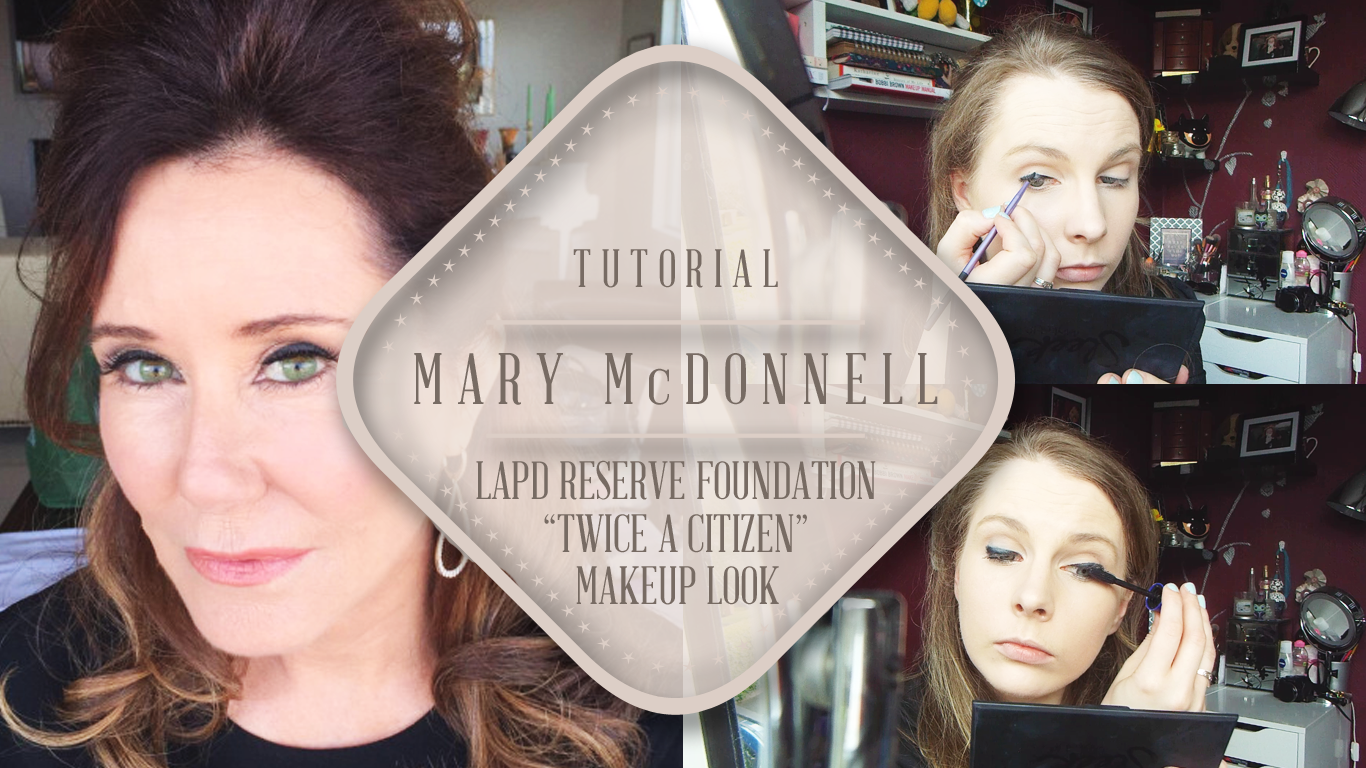
This makeup tutorial is based on the makeup that Mary wore to the LAPD Reserve Foundation's "Twice A Citizen" Banquet last weekend. I was completely in love with the look from the photos released from the event and the Twitter photographs shared by the Major Crimes cast members in attendance, Tony Denison, Kathe Mazur and Mary herself. I couldn't really tell what was going on with her makeup because they were taken on phones and a smidge blurry but then Kristina posted a really good quality photo and I could see it better.


Then for blush, I used Rimmel's Lasting Finish Soft Colour blush in Santa Rose on my Real Techniques blush brush to give the cheeks a flush of colour. Mary's cheeks didn't look overly flushed to me and Santa Rose gives a beautiful soft colour.


* All images of Mary McDonnell are owned by their respective owners. I don't own anything and I'm just playing around with it for fangirling purposes.
I'm not a makeup artist and I don't have exactly what Kristina used - I don't have anything from Tarte cosmetics, which is what she used so I'm going to make do with what I have in my collection to recreate this look to the best of my abilities. As always, you can use whatever products that you have in your collection, you don't have to use what I do.
T H E L O O K
Start off with your normal foundation routine. For me that consists of L'Oreal's Infallible Mattifying Primer, L'Oreal Infallible foundation (Porcelain & Vanilla mixed together), Maybelline Fit Me Concealer (15) to conceal my blemishes and dark circles and Collection Lasting Perfection Concealer (Fair) to brighten and Bourjois Healthy Balance powder (Vanilla) to set everything.
I primed my eyelids with my Collection concealer. I dabbed it on my eyelid and blended it out using my ring finger so that it covers any redness and any veins that make themselves known. Rude! I then set the concealer with the Bourjois powder so that my shadows have a good base.


I primed my eyelids with my Collection concealer. I dabbed it on my eyelid and blended it out using my ring finger so that it covers any redness and any veins that make themselves known. Rude! I then set the concealer with the Bourjois powder so that my shadows have a good base.
In this look, Mary's eyebrows are very natural so I took my Soap & Glory Archery eyebrow pencil to tame those brow hairs with the brush and then used the pencil end to fill in some of the sparse bits.
This look appears to have most of the detail on the lid and towards the upper lashline but the crease looks slightly defined to me so I took this matte light chocolatey-brown shadow from my L'Oreal La Palette Nude (1-Rose version) - again you can use any matte brown shadow that works for you. On a fluffy blending brush (I used my MAC 217), I started at the outer corner with a very light touch and took it up into my crease so that it defines it. I didn't take this above my crease, just inside it and about half way along.


To intensify that crease, I took Crème Brûlée from Wet N Wild, but any shadow that matches your skin tone will do the trick, on my EcoTools Shade brush and patted it all over my lid.
Now for the part where I can go monumentally wrong with this look. I questioned what was going on here so many times that it stopped being fun. I originally planned to do a precise dark purple eyeshadow look but on closer inspection (and a little stalking), I found out that most of the lid detail was gel eyeliner - Tarte Clay Paint in black to be specific.
Since I don't have any Tarte gel liners (or anything from Tarte for that matter), I took my Maybelline Eye Studio Lasting Drama gel eyeliner, which I have been loving since I bought it two weeks ago, and my Real Techniques fine liner brush. Start by lining your upper lashline and then work on thickening it up as it moves from inner to outer corner. It has all the makings of a cat eye but without the flick at the end. I was rather cack-handed when filming this so I did mess up a couple of times and tried to fix it. I don't think I really succeeded - just being honest.
To line my eyes fruther, I took Rimmel's Special Eyes Precision Eye Liner Pencil in Black and lined my tightline. Then with a bit of precision, I took that liner between my lashes. This is the first time that I've ever done this technique but using an eyeliner pencil and dabbing it between the lashes that you see really makes it easier. I didn't have my contacts in for this and I had to do most of this off camera on a closer, more-magnifying mirror - #eyesightproblems
Then I lined my waterline all the way along, lightly.
After curling my lashes, I took Maybelline's The Rocket mascara. I applied this to only my top lashes but you can apply mascara to your bottom lashes if you want to.
Then for blush, I used Rimmel's Lasting Finish Soft Colour blush in Santa Rose on my Real Techniques blush brush to give the cheeks a flush of colour. Mary's cheeks didn't look overly flushed to me and Santa Rose gives a beautiful soft colour.
I'm not sure if Kristina contoured but Mary has awesome cheekbones anyway, so I went in with Urban Decay's Naked Flushed palette bronzer on my No7 Contour & Highlight brush and just carved out my cheekbones very lightly. This was just to add a little dimension to my face, you don't have to do this step if you don't want to.
I always finish everything off with the lips and for this look, I used Seventeen's Stay Pout lipstick in Just A Fling. The lip colour that Mary wore looked to have a orange-y tinge to it and this is the only lipstick that I have that fits that bill.
There you have it, a Mary McDonnell inspired makeup look that's suitable for any occassion and any age. I personally love this look. It compliments the eyes beautifully and draws attention like you wouldn't believe. Let me know what you think of this look, I would love to know what you think. P.S. I hadn't realised that my mirror was that much into the shot.
I hope you all have a wonderful Friday and enjoy your weekend!
* All images of Mary McDonnell are owned by their respective owners. I don't own anything and I'm just playing around with it for fangirling purposes.
Previous Sharon Raydor Posts
Previous Mary McDonnell Posts


Comments
Post a Comment